")
Let’s be real for a moment.
Cleaning your home often feels like a never-ending task. You clean today, and somehow it looks messy again tomorrow. If you’re busy, tired, or just not in the mood, even small chores can feel heavy.
Dishes sit in the sink. Clothes pile up. Dust shows up out of nowhere. And slowly, your home starts feeling stressful instead of relaxing.
That’s exactly why lazy cleaning tips are so useful.
You don’t need to spend hours cleaning every day. You just need simple habits and smart shortcuts that make cleaning easier and faster. These lazy cleaning tips are designed for real life — not perfect homes.
If you’ve been wondering how to clean without putting in too much effort, you’re in the right place.
Lazy Cleaning Tips That Actually Work

Cleaning doesn’t have to feel hard or confusing. In fact, the smartest lazy cleaning tips are usually the simplest ones.
Instead of trying to clean your entire home in one go, focus on small, easy actions that give quick results. When you break cleaning into simple steps, it stops feeling overwhelming and becomes something you can actually keep up with.
These lazy cleaning tips are not about doing more work. They are about doing the right things in less time. A quick reset here, a small habit there — it all adds up.
If you stay consistent with these simple methods, your home will look cleaner every day without needing hours of effort. This is exactly how to clean your house with minimal effort while still getting real, visible results.
You can read : 7 Easy Steps to Clean the Bathroom Tiles Like a Pro
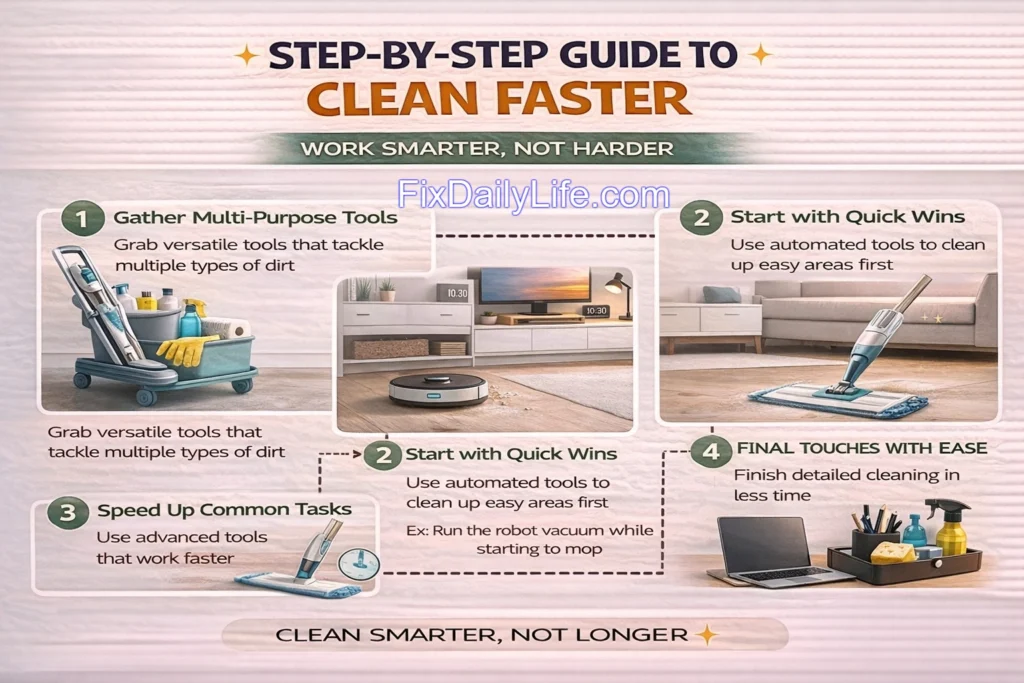
1. Start with a 10-Minute Lazy Cleaning Routine
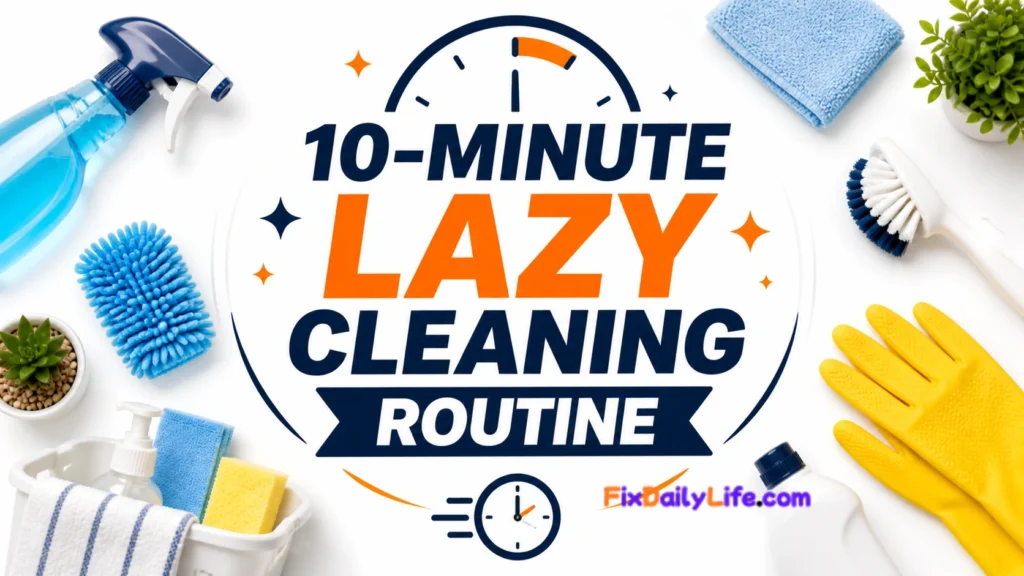
If cleaning always feels like too much work, start small. A simple 10-Minute Lazy Cleaning Routine can help you stay in control without feeling tired or stressed.
Most people avoid cleaning because it feels like a big job. But when you say, “I’ll clean for just 10 minutes,” it suddenly feels easy to start.
Set a timer and clean only until the time is up. No pressure to do more.
In those 10 minutes, you can:
- Pick up trash from around the room
- Put dishes in the sink or dishwasher
- Throw clothes into a laundry basket
- Wipe one table or kitchen counter
- Fix pillows and blankets
That’s enough.
You’re not trying to make everything perfect. You’re just making things a little better.
Why this works:
- It feels quick and easy
- You don’t feel overwhelmed
- You see results right away
After a few days, this starts to feel normal. You won’t need to force yourself anymore.
That’s why this is one of the best lazy cleaning tips for busy people. It’s simple, fast, and actually works.
2. Keep Cleaning Supplies Where You Use Them
Here’s the simple truth.
Cleaning doesn’t feel hard because it’s difficult. It feels hard because it’s not easy to start.
If you have to walk to another room to grab a cleaner, you’ll likely say, “I’ll do it later.” And later usually never happens.
So make it easy.
One of the smartest lazy cleaning tips is to keep your cleaning supplies where you actually use them.
For example:
- Bathroom: wipes, brush, cleaner under the sink
- Kitchen: sponge, dish soap, spray near the counter
- Bedroom: laundry basket and a small trash bin
- Living room: cloth and a small basket for clutter
Now think about this.
You see a dirty sink. The cleaner is right there. You wipe it in seconds. Done.
No walking. No delay.
That’s the idea.
When your tools are close, cleaning becomes quick and easy. You don’t need to plan anything. You just do it.
You can also clean in small moments:
- Spill something? Wipe it right away
- See dust? Clean it in seconds
- Trash nearby? Throw it instantly
These small actions stop mess from building up.
That’s why this works so well.
It’s one of those lazy cleaning tips that makes cleaning feel simple. You’re not doing more work. You’re just making it easier to start.
And honestly, starting is the hardest part.
3. Use the Basket Trick for Instant Clean Look
Here’s something most people don’t notice.
Your home often looks messy not because it’s dirty, but because of clutter. And clutter makes everything feel worse.
That’s where this trick helps.
Grab a basket or bag and walk around the room. Pick up anything that doesn’t belong there. Don’t think too much. Just move fast.
You can collect things like:
- Clothes
- Books
- Toys
- Chargers
- Cups or random items
In just a few minutes, your space will look cleaner.
You’re not deep cleaning. You’re just removing what your eyes see first.
That alone makes a big difference.
Don’t worry about sorting the basket now. You can do that later when you have time.
This works because:
- It’s quick
- It’s easy
- You see results fast
That’s why it’s one of the best lazy cleaning tips. It helps you clean without doing much.
If you feel tired or don’t want to clean, this is one of those lazy cleaning tips that gets the job done fast.
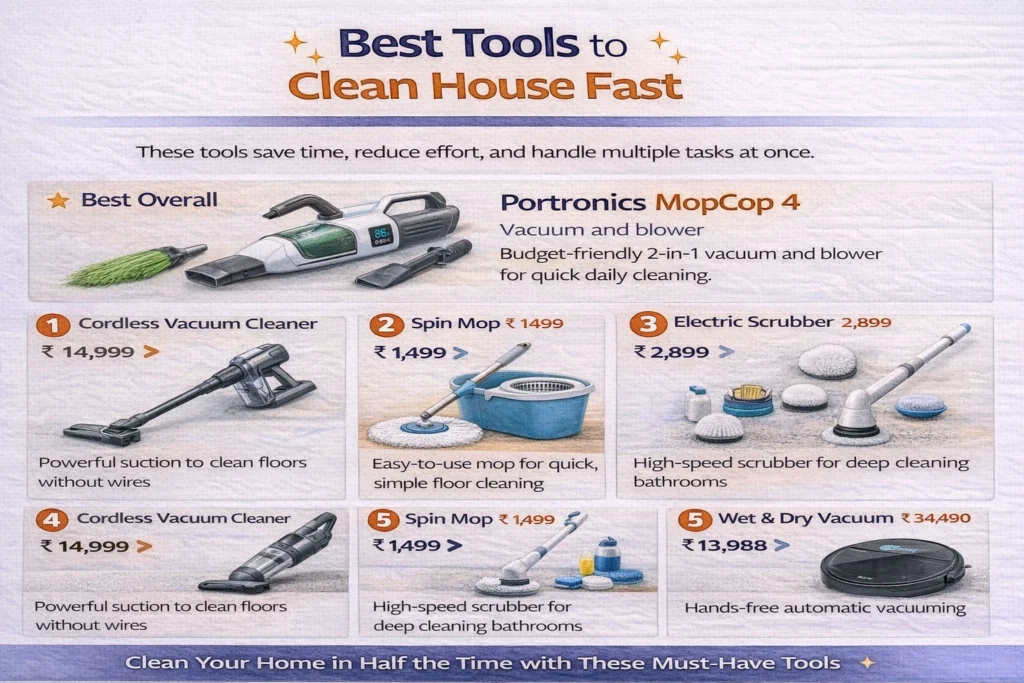
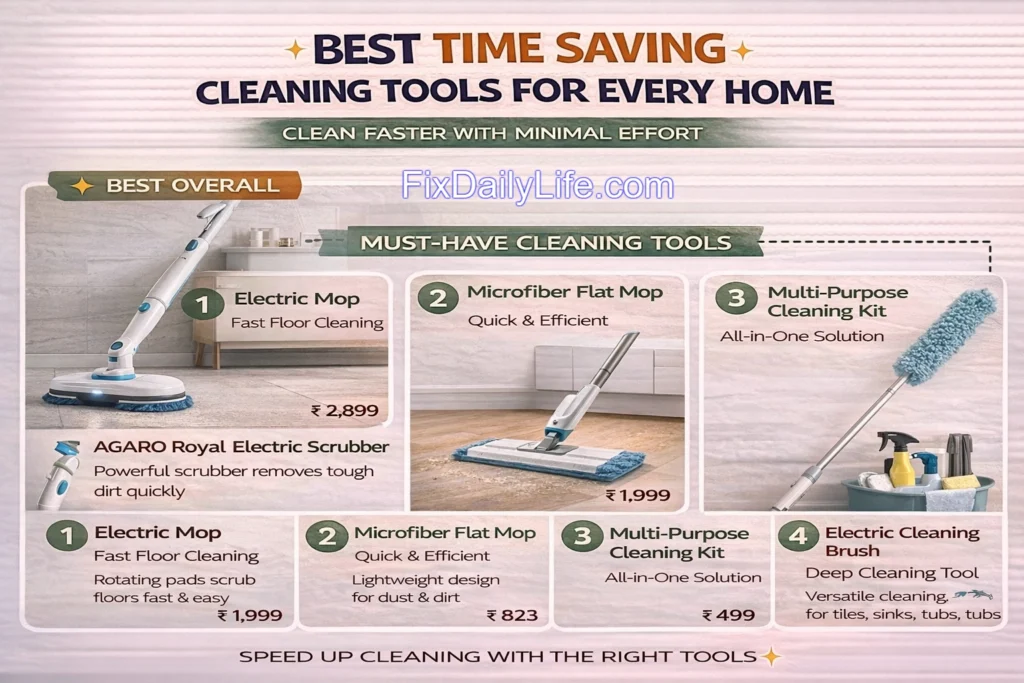
You can read also : 10 Best Time Saving Cleaning Tools That Actually Work
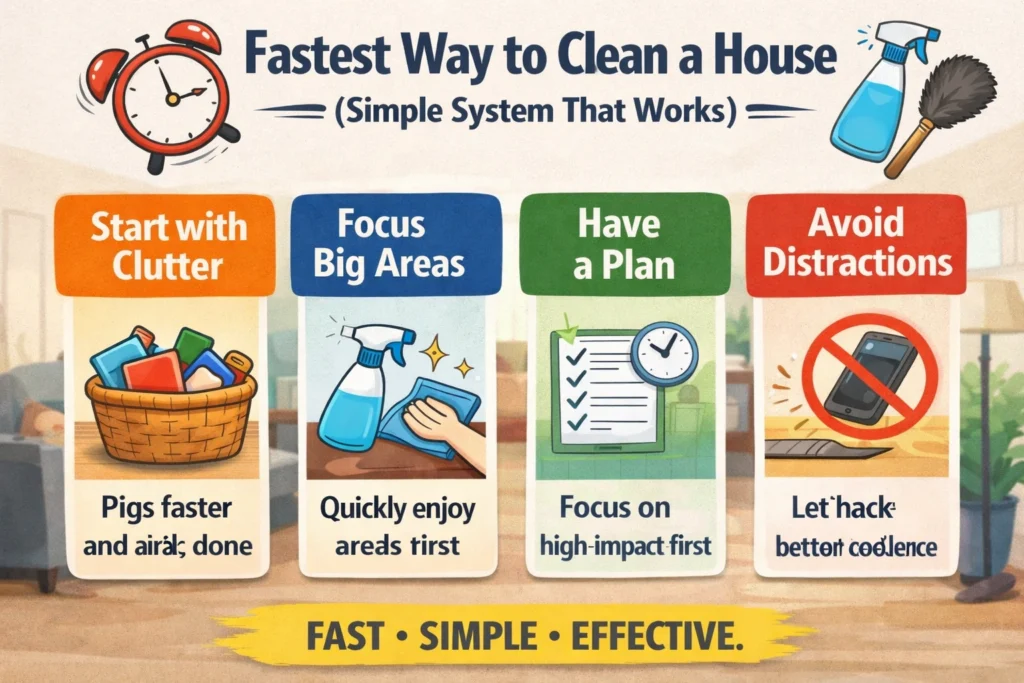
4. Clean What People See First

When you’re low on time, don’t try to clean everything. It feels too big, and you end up doing nothing.
Here’s a better way. Focus on what people can see.
These spots make your home look clean right away:
- Kitchen counters
- Dining table
- Coffee table
- Bathroom sink
- Entryway
- Couch area
You don’t need deep cleaning. Just do quick fixes:
- Clear the surface
- Wipe it down
- Put things back
That’s enough to make a big difference.
This is one of the smartest lazy cleaning tips because you get fast results without much effort. You focus on what matters most, not everything.
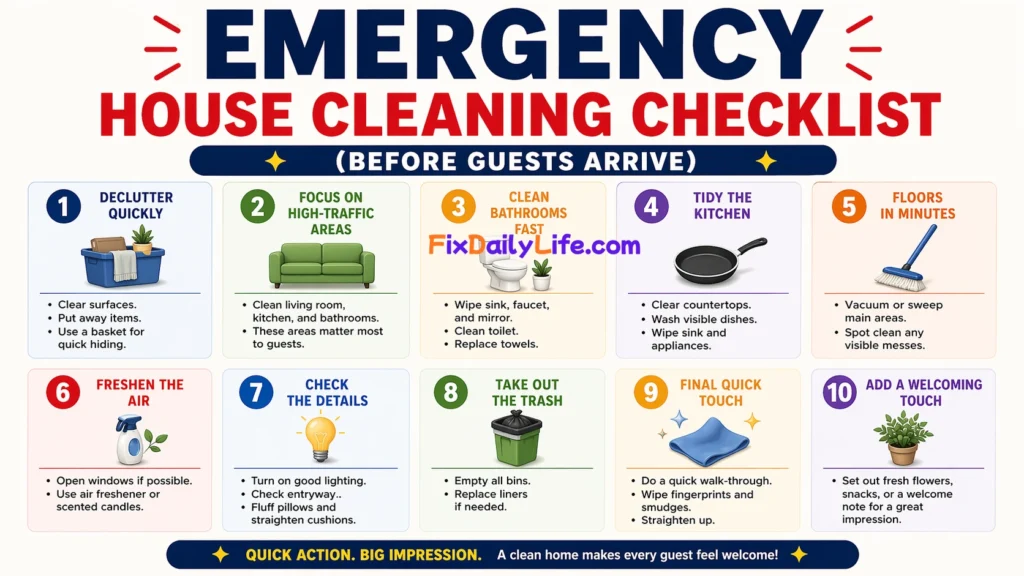
It also helps when guests are coming or when you just want a quick reset.
That’s why this is one of the most useful lazy cleaning tips and also one of the best fast house cleaning tips that actually work.
5. Follow the One-Touch Rule
This is one of the easiest lazy cleaning tips you can follow every day.
The rule is simple. When you pick something up, don’t put it down somewhere else. Just finish the job right away.
Most mess happens because we keep moving things instead of putting them back.
For example:
- Cup → take it to the kitchen
- Jacket → hang it up
- Mail → throw it away or keep it properly
- Shoes → place them near the door
It only takes a few seconds, but it saves you from cleaning later.
If you don’t do this, things start piling up. One small item turns into a messy room before you even notice.
But when you follow this rule, your space stays clean without extra effort.
That’s why it’s one of the most useful lazy cleaning tips. You are not doing more work. You are just stopping the mess early.
After a few days, it becomes a habit. You don’t have to think about it. You just do it.
And that’s what makes it one of the easiest ways to keep your home clean every day.
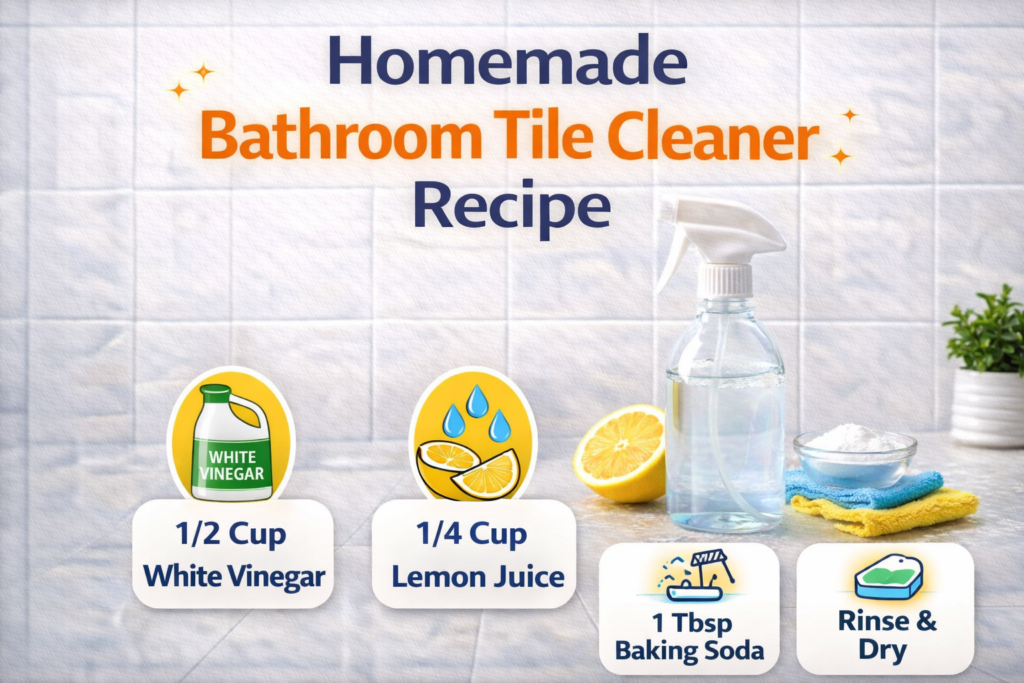
6. Let Cleaning Products Do the Work
Most people make the same mistake. They spray and start scrubbing right away.
That just makes the job harder.
A better way is simple. Spray the cleaner and wait a few minutes. Let it sit.
This works really well on:
- Bathroom surfaces
- Toilets
- Kitchen counters
- Greasy stovetops
- Shower walls
While you wait, the cleaner starts breaking down dirt and grease on its own. So when you come back, you don’t have to scrub hard. A quick wipe is usually enough.
You can even use this trick during your 10-Minute Lazy Cleaning Routine. Spray first, do something else, then come back and wipe.
That way, you save both time and effort.
Here’s why this works so well:
- You scrub less
- You finish faster
- You get better results
It’s one of the smartest lazy cleaning tips because you’re letting the product do part of the work for you.
And honestly, anything that saves effort is always a win.
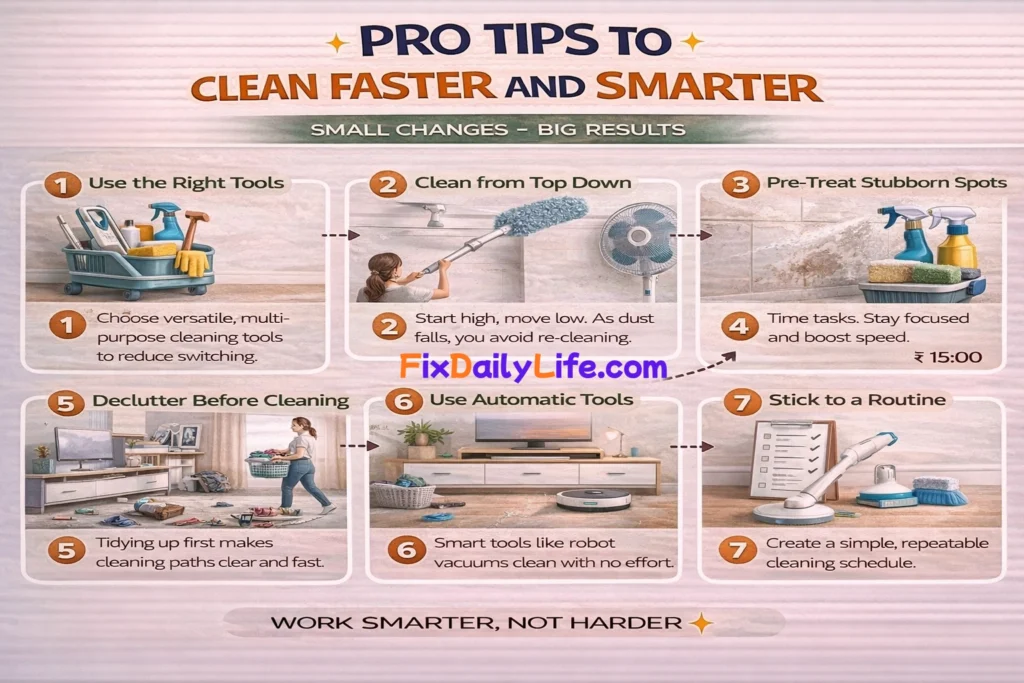
This is also one of the best Pro Tips to Clean Faster with Less Effort, especially if you don’t like scrubbing.
7. Clean While You Wait
You don’t need extra time to clean. You just need to use the time you already have.
Think about your day. You spend a lot of time just waiting.
Like when:
- Coffee is brewing
- Food is heating
- Water is boiling
- Laundry is running
Instead of standing or scrolling your phone, do one small thing.
You can:
- Wipe a counter
- Put dishes in the sink
- Throw away trash
- Pick up a few items
That’s it. Nothing big.
This is one of the easiest lazy cleaning tips because it doesn’t feel like work. You’re not doing a full cleaning. You’re just using free time.
And those small things add up.
After a few days, your home starts looking cleaner without you trying too hard.
That’s how you build a simple low effort cleaning routine without stress.
8. Make Your Bed (The Lazy Way)

This is one of the simplest lazy cleaning tips you can do every day.
Making your bed doesn’t need to be perfect. You don’t have to fix every corner or make it look like a hotel bed. Just doing the basics is enough to make your room look clean.
Keep it easy:
- Pull the blanket up
- Adjust the pillows
- Remove any clothes or items
- Smooth the top a little
That’s all.
It takes less than two minutes, but it changes how your whole room looks. Even if the rest of the room is not perfect, a made bed makes things feel better.
This works because your bed takes up a big space. When it looks neat, everything else looks cleaner too.
That’s why it’s one of the most useful lazy cleaning tips. You get quick results without doing much work.
If you do this every morning, your room will never feel too messy. And you don’t have to spend extra time cleaning later.
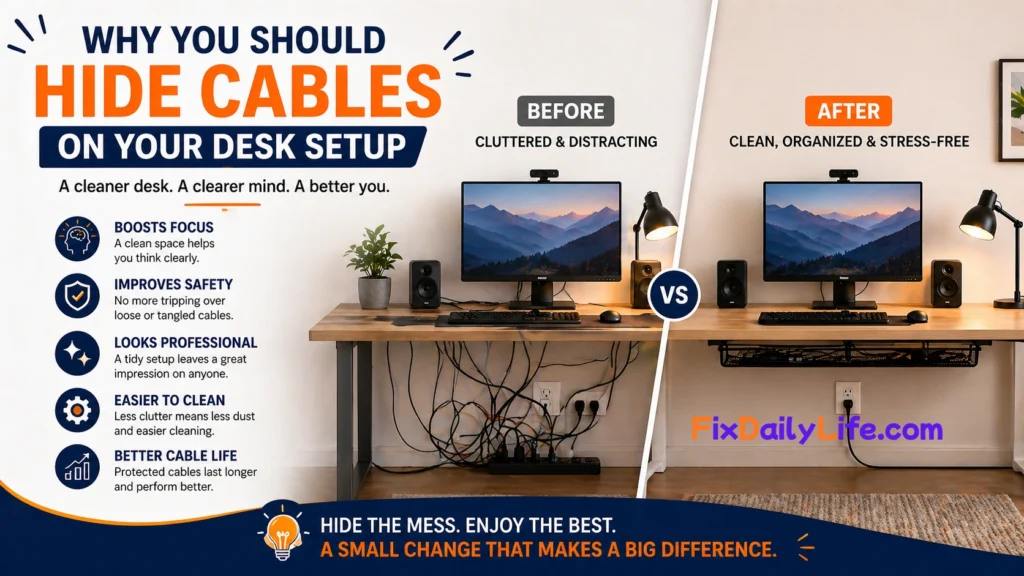
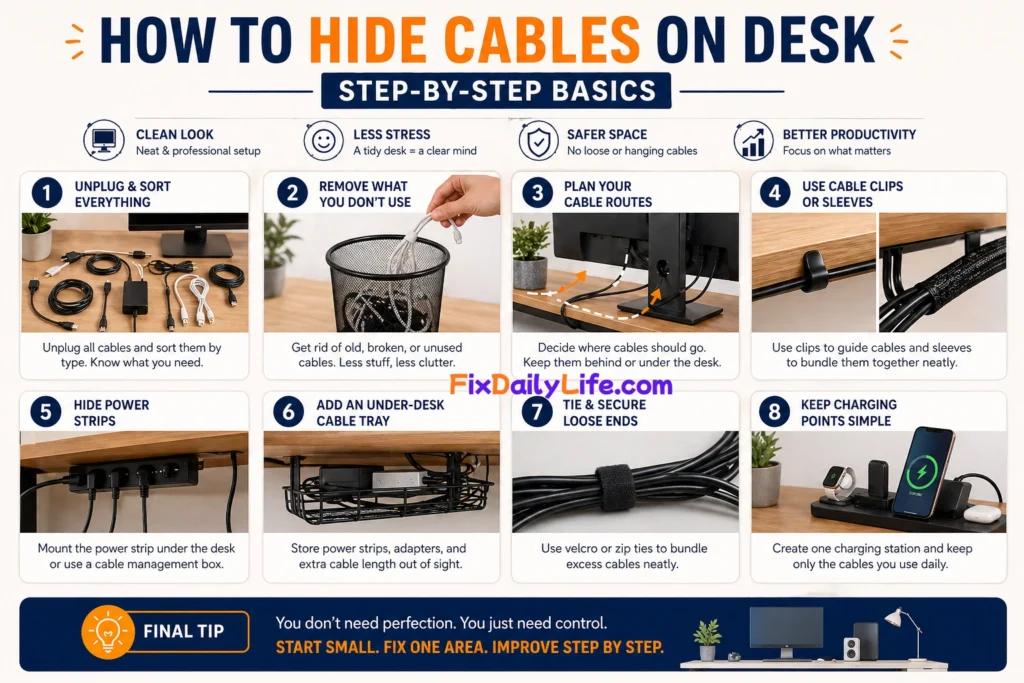
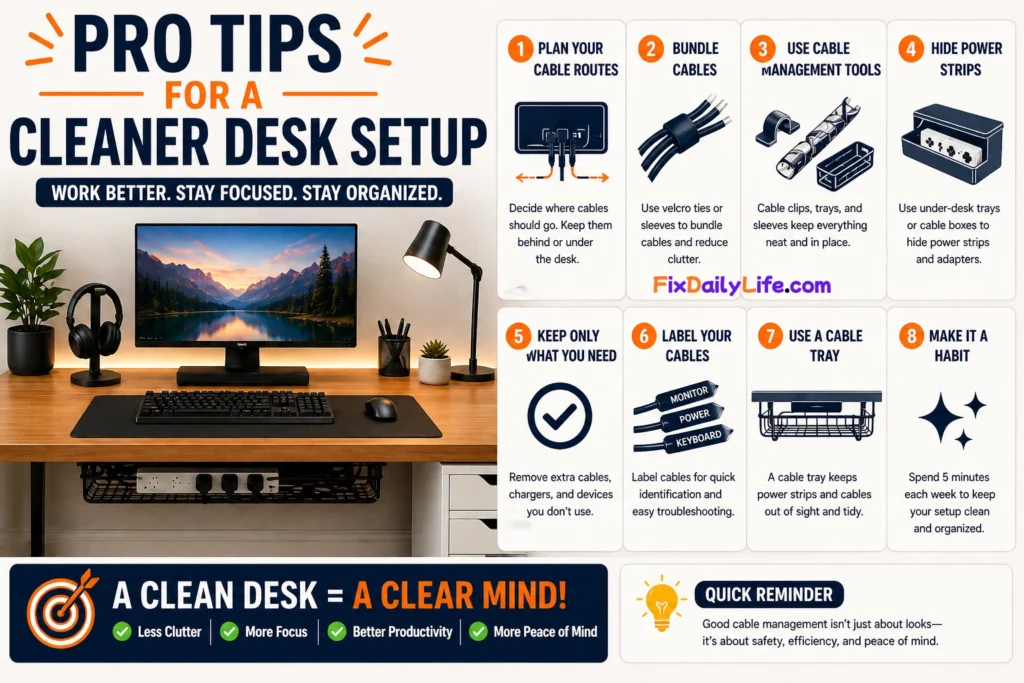
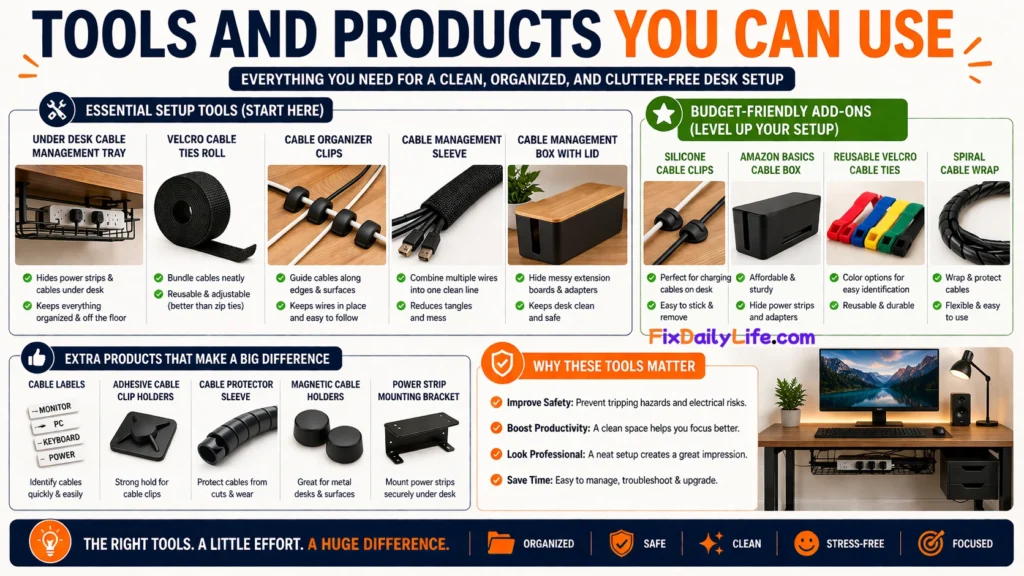
You can read : 15 Powerful Desk Setup Ideas for Minimal Setup
9. Add More Trash Bins
If you keep seeing trash on tables or around the room, it’s not really your fault.
The real problem is simple. There’s no bin nearby.
One of the easiest lazy cleaning tips is to add more small trash bins in your home. When a bin is close, you don’t think. You just use it.
Try putting bins in places like:
- Bedroom
- Bathroom
- Home office
- Living room
You don’t need big bins. Small ones are enough.
Think about it. If you have a wrapper in your hand and the bin is right there, you’ll throw it away. But if it’s far, you’ll leave it on the table and say, “I’ll do it later.”
And later usually doesn’t happen.
That’s how mess builds up.
This is one of those lazy cleaning tips that makes life easier. You’re not doing extra work. You’re just making it simple to stay clean.
It also helps a lot if you want lazy ways to keep your house clean daily without thinking too much.
Small change. Big difference.
10. Do Smaller Laundry Loads
LLaundry feels hard when it turns into a big pile. When it gets too big, you don’t feel like starting at all.
So keep it small.
Instead of waiting, do laundry in smaller loads. This is one of those lazy cleaning tips that makes life easier without extra effort.
Try this:
- Keep a basket where you usually drop clothes
- Wash when it’s half full, not overflowing
- Fold only clothes that wrinkle
- Use bins for socks or home clothes
Now laundry feels quick, not heavy.
You don’t need a full day to do it. You just do a little, and it’s done.
That’s why this works so well.
It’s one of the best lazy cleaning tips for busy people because you don’t need to plan anything big. You just keep things under control.
And honestly, that’s the goal.
This is one of those lazy cleaning tips that helps you stay on track without feeling tired or stressed.
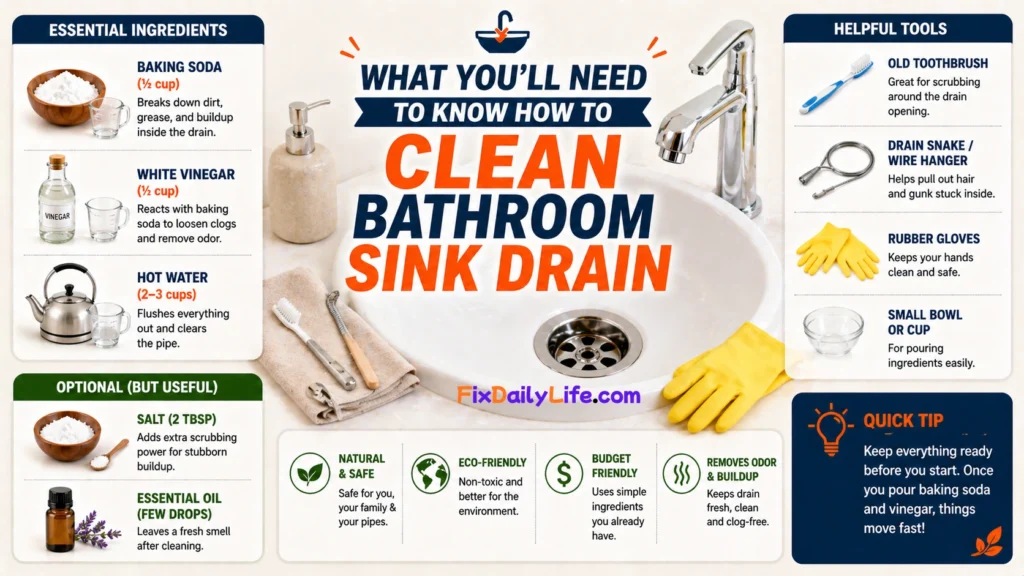
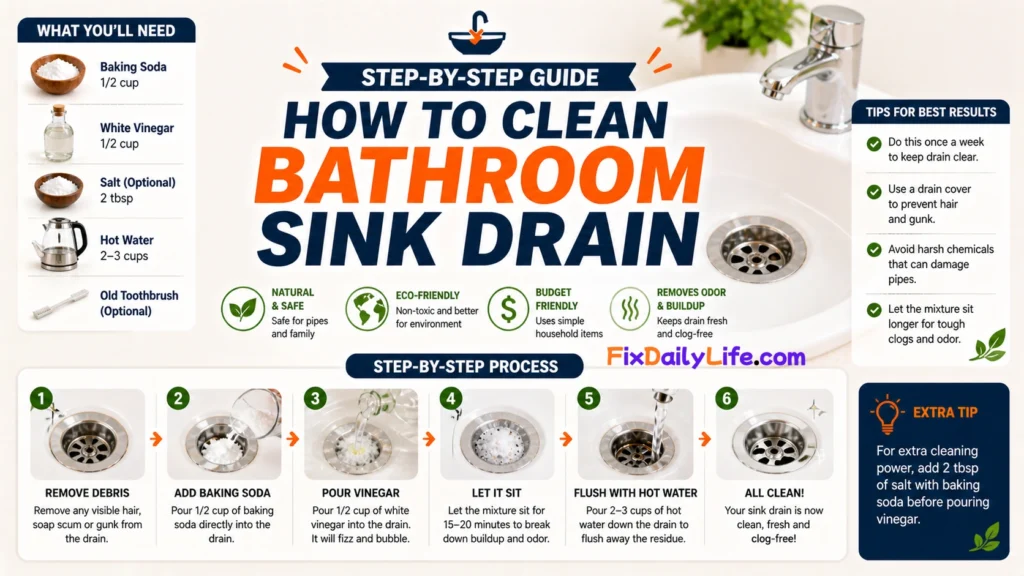
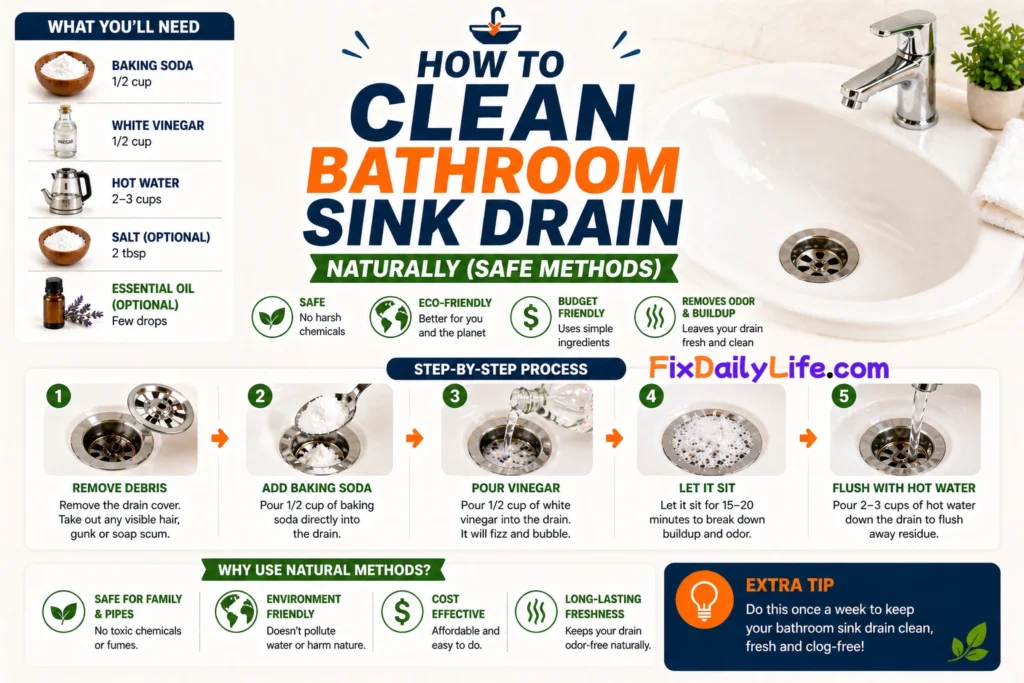
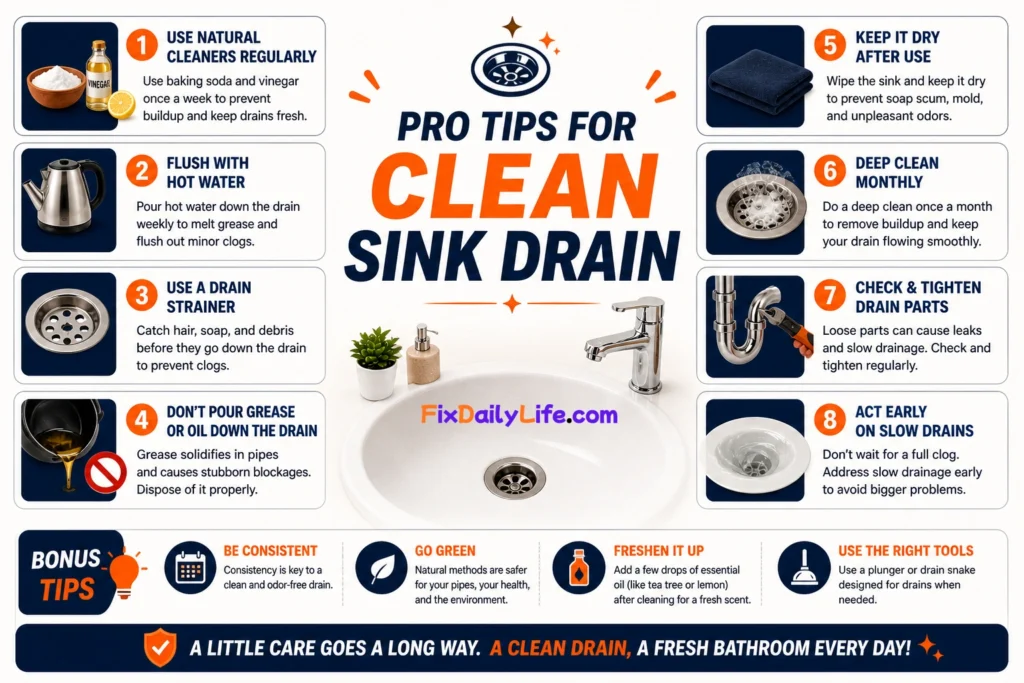
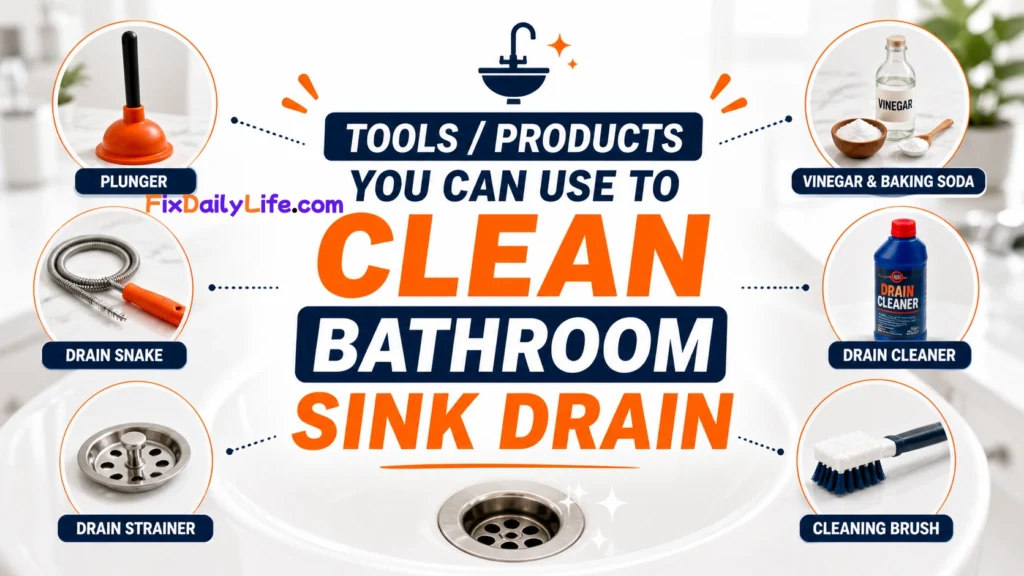
You can read also : How to Clean Bathroom Sink Drain Naturally in 5 Simple Steps
11. Rinse Dishes Immediately
Dirty dishes get harder to clean when food dries on them. Then you have to scrub more, and that takes time.
A quick rinse can fix that.
This is one of the simplest lazy cleaning tips you can follow in the kitchen. It takes just a few seconds, but it saves you a lot of effort later.
Even if you don’t wash dishes right away, do this:
- Rinse plates after using them
- Fill them with a little water
- Stack them neatly in the sink
Now when you come back later, cleaning feels much easier.
You don’t have to scrub hard. Most of the dirt comes off quickly.
You can also make things easier by using fewer dishes during the day. One plate, one cup, and one spoon are easier to manage than a full sink.
This small habit is part of a smart low effort cleaning routine. You’re not doing extra work. You’re just making things easier for your future self.
That’s why it’s one of the most useful lazy cleaning tips for keeping your kitchen under control without stress.
12. Keep Floors Clear
Floors can make your whole home look messy, even if everything else is clean.
If things are lying around—shoes, bags, toys—the room feels untidy right away. But when the floor is clear, the space looks better in seconds.
This is one of those simple lazy cleaning tips that gives quick results without much effort.
You don’t need to deep clean. Just stop things from piling up on the floor.
Try this:
- Keep shoes near the door
- Use hooks for bags
- Put toys in bins after use
- Place baskets where clutter usually collects
When everything has a place, things don’t end up on the floor.
And here’s the bonus—cleaning becomes much faster. Sweeping or vacuuming takes less time because nothing is in the way.
This is also a smart way to follow how to clean your house with minimal effort. You’re not doing more work. You’re just making cleaning easier.
Small habit, big difference.
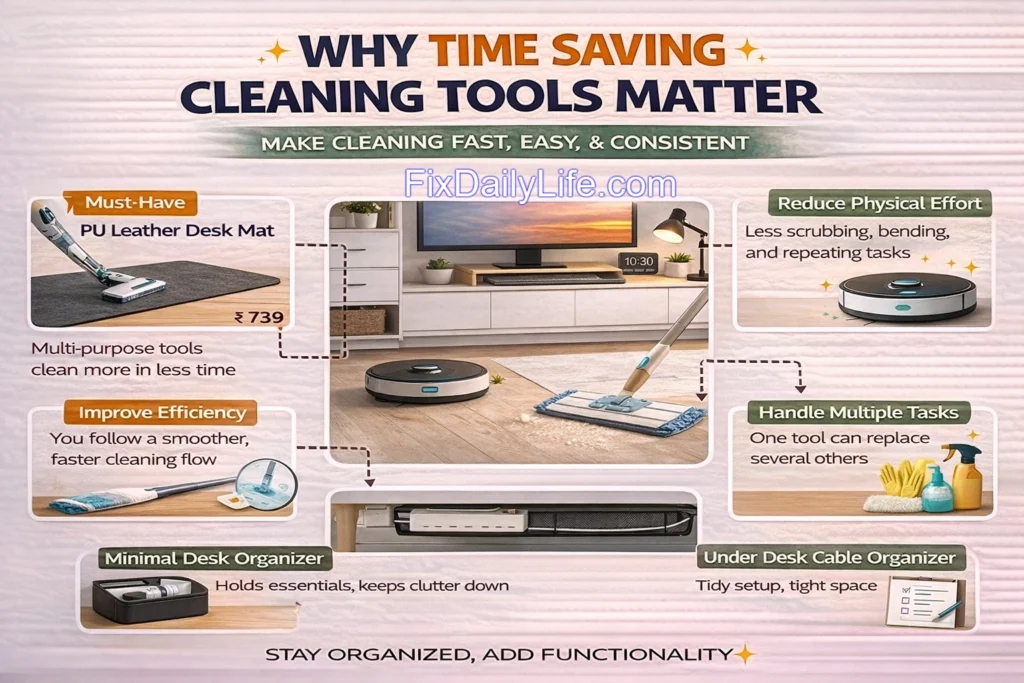
13. Use Multi-Purpose Cleaners
Too many cleaning products can make things confusing. You stand there thinking, “Which one do I use?” And that slows you down.
Keep it simple. Use one good cleaner for most things.
This is one of those lazy cleaning tips that saves both time and effort.
You can use a multi-purpose cleaner for:
- Counters
- Tables
- Sinks
- Door handles
Instead of switching between bottles, you just grab one and get the job done.
That makes cleaning faster and easier. No thinking, no guessing.
It also saves space and keeps things less messy.
This is why it works so well. Fewer choices mean you act faster.
That’s also why it’s one of the best cleaning hacks that save time and energy.
And when cleaning feels easy, you’re more likely to actually do it.y.
14. Do a 5-Minute Night Reset
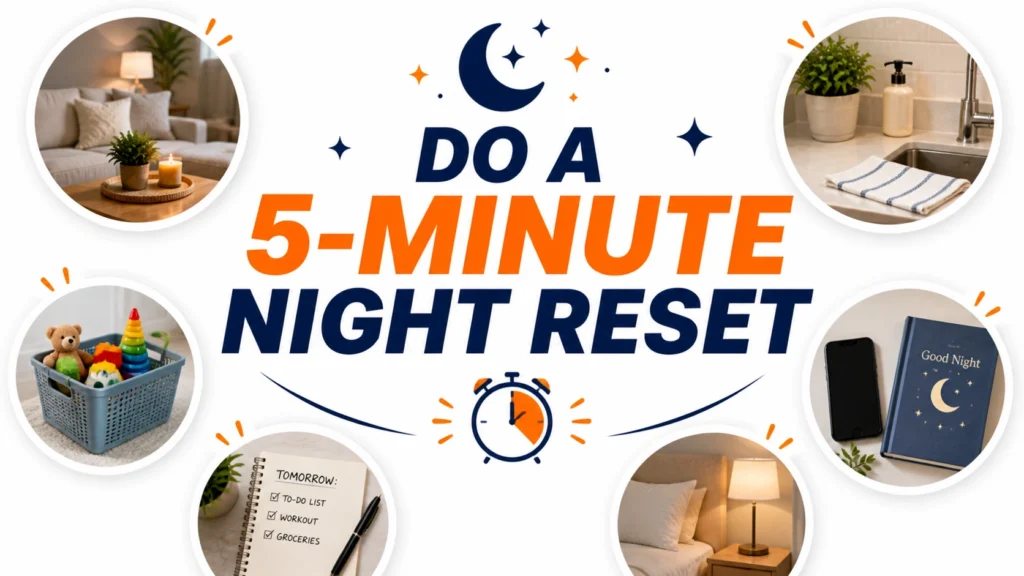
A quick reset before bed can change how your home feels the next day.
You don’t need to clean everything. Just spend five minutes doing a few small things.
This is one of those lazy cleaning tips that feels easy but works really well.
Before you sleep, do this:
- Clear cups and plates
- Toss any trash
- Fix the couch or pillows
- Wipe one surface like the kitchen counter
- Put a few things back in place
That’s it. Nothing more.
These small steps stop mess from building up overnight. So when you wake up, your home already feels better.
You don’t start your day with clutter, and that makes a big difference.
This is why it’s one of the most useful lazy cleaning tips for daily life. You’re not doing a deep clean. You’re just keeping things under control.
It’s a simple habit, but it helps you maintain a clean home without extra effort.
15. Clean One Surface at a Time
When your home looks messy, it’s easy to feel stuck. You look around and don’t even know where to start.
So don’t start with everything. Just pick one spot.
This is one of the simplest lazy cleaning tips you can follow when you feel overwhelmed.
Start small:
- One table
- One counter
- One desk
Clean that one surface fully. Wipe it, clear it, and make it look neat.
Then stop if you want. No pressure to keep going.
The best part? You’ll see results right away. One clean surface can make the whole room feel better.
And once you start, you might even feel like doing one more.
That’s how this works.
It’s one of those lazy cleaning tips that helps you get started without feeling stressed. You don’t need energy for the whole house. Just one small step.
And most days, that’s more than enough..
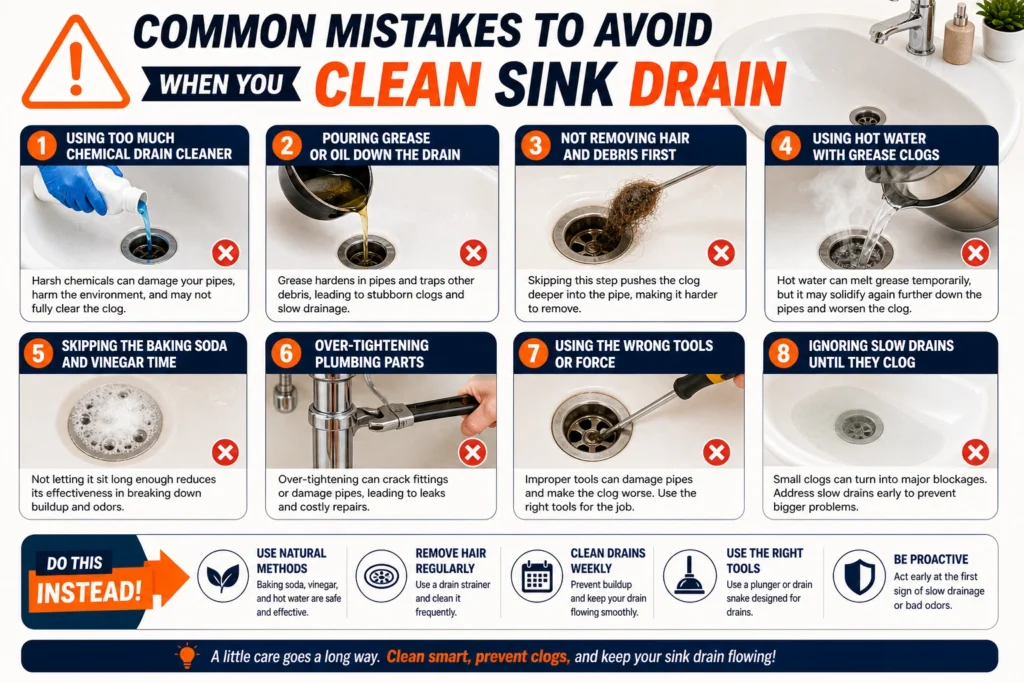
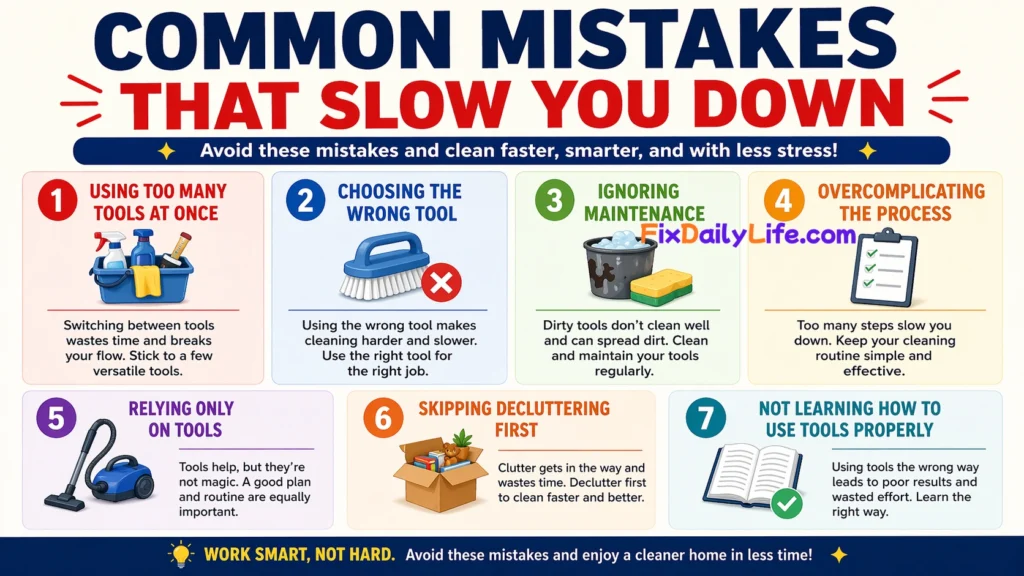
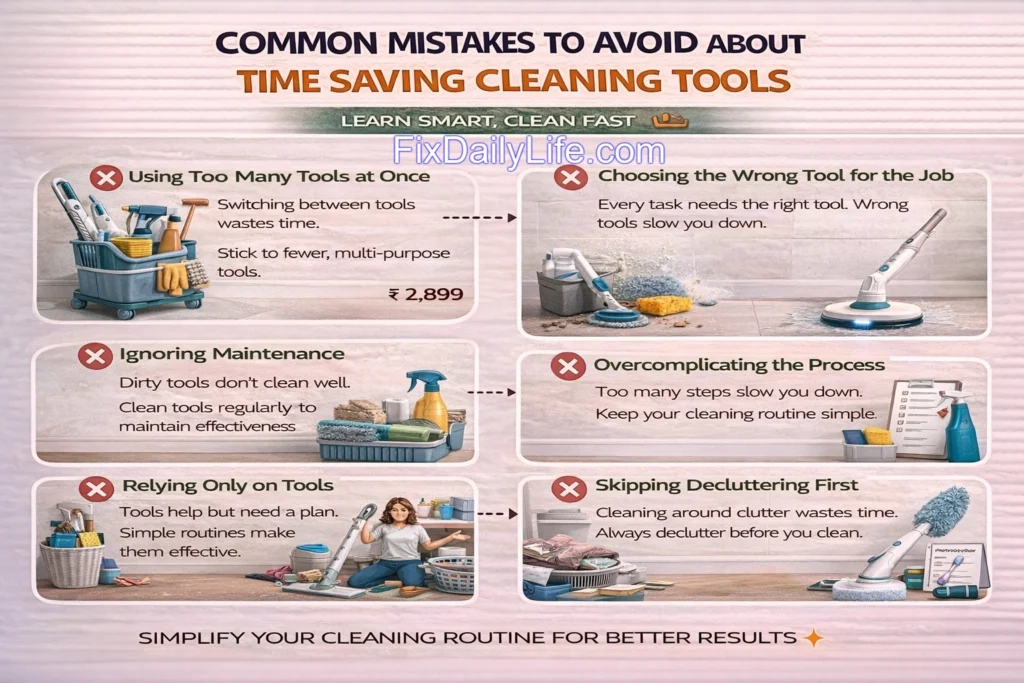
16. Common Lazy Cleaning Mistakes
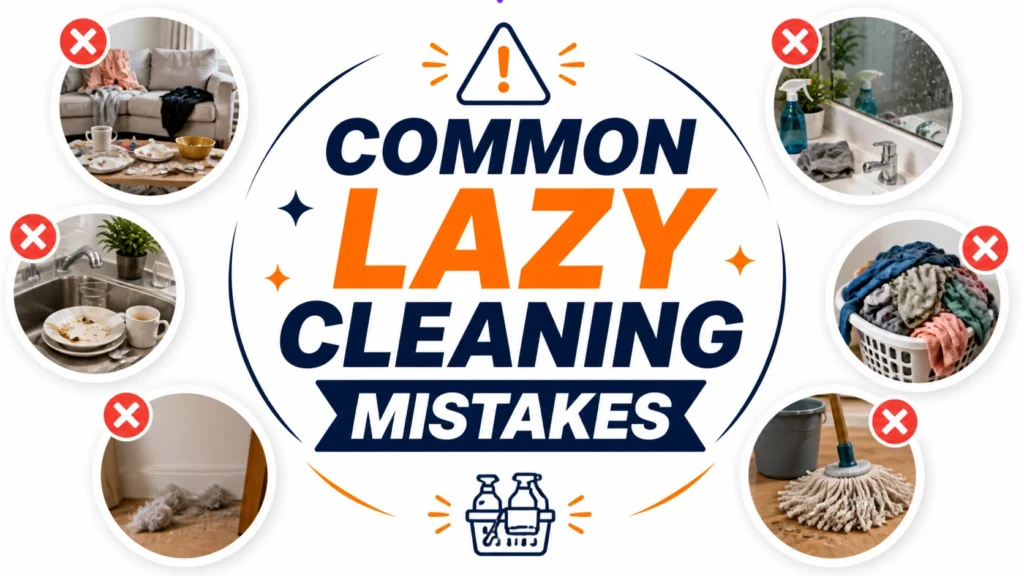
Even when you’re trying to keep things simple, a few small habits can slow you down.
That’s why it’s important to notice these Common Lazy Cleaning Mistakes and avoid them early. It will save you time and effort later.
Here are some common mistakes people make:
- Waiting too long to clean
- Moving clutter instead of putting it away
- Trying to make everything perfect
- Ignoring small messes
- Using too many cleaning products
These might seem small, but they add up fast.
For example, when you wait too long, the mess gets bigger and harder to deal with. When you keep moving clutter around, it never really goes away.
And trying to be perfect? That just makes cleaning feel harder than it needs to be.
The truth is, lazy cleaning tips work best when you keep things simple. You don’t need to do everything. You just need to do enough.
Stick to easy habits. Fix small messes early. Don’t overthink it.
That’s how lazy cleaning tips actually save your time and energy.sistent.
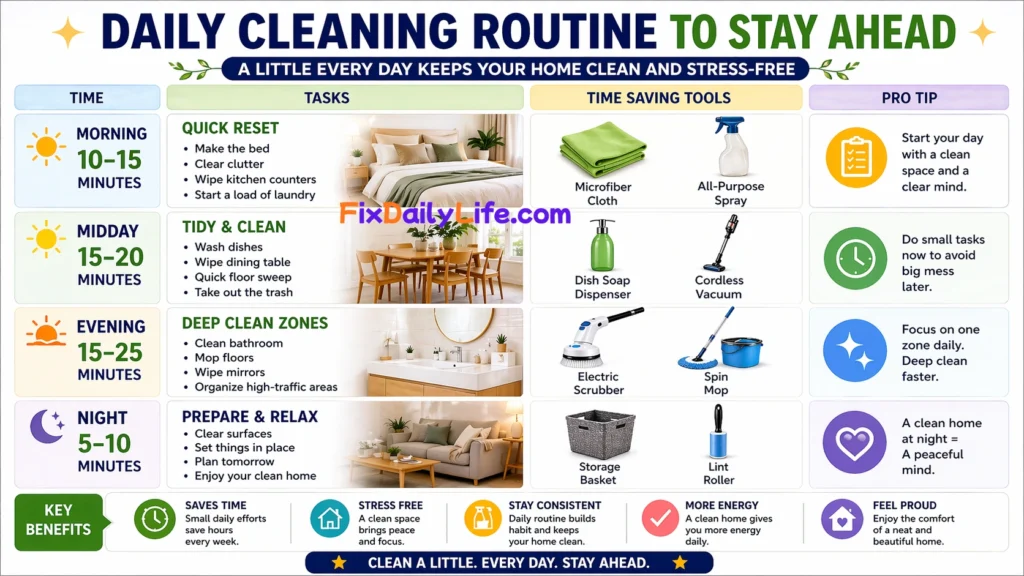
17. Build a Low Effort Cleaning Routine
A good routine should feel easy, not stressful. If it feels too hard, you won’t stick with it.
That’s why simple routines work best.
This is one of those lazy cleaning tips that helps you stay on track without doing too much at once. You’re not cleaning all day. You’re just doing small things at the right time.
Here’s a simple plan you can follow:
Daily:
- Make your bed
- Do a quick 5-minute reset
- Rinse dishes after use
- Throw away trash
Few times a week:
- Vacuum busy areas
- Do one load of laundry
- Clean the bathroom sink
Weekly:
- Mop floors
- Clean the toilet
- Change bed sheets
You don’t have to follow this perfectly. Just do what you can.
The goal is to keep things under control, not make everything perfect.
This kind of routine works well because it breaks cleaning into small steps. Nothing feels too big or tiring.
That’s why it’s one of the most practical lazy cleaning tips for everyday life. It fits into your day without taking too much time or energy.
Conclusion
At the end of the day, you don’t need a perfect home.
You just need a space that feels clean, calm, and easy to live in.
That’s what these lazy cleaning tips are all about. They help you stay on track without feeling tired or stressed.
Start small. Don’t try to do everything at once.
Pick one or two habits:
- Do a quick 10-minute clean
- Rinse dishes
- Clear one surface
That’s enough to begin.
The more you repeat these small actions, the easier they get. And over time, your home stays clean without extra effort.
That’s the real goal.
These lazy cleaning tips work because they fit into real life. You don’t need a strict routine or hours of cleaning. You just need simple habits you can follow every day.
And honestly, that’s what makes them work so well.